Having organised photos and set up a system for keeping memories updated and easy to access, I’ve been looking at ways to display photos of events and loved ones. I’ve been struck by Author and Photographer Beth Jennings and her philosophy when she said “the planning bit is not the fun bit. The fun bit is commemorating lives. Once you’ve done the cataloguing, you can get on with the remembering.” The better half and I have moved house recently and considering the walls are still quite bare, we’ve been considering options to fill them.
I was recently introduc ed to PosterCandy, an Australian service that allows users to take a selection of their photos to build and create posters. It’s relatively straightforward and easy to use, offering standardised poster templates ranging in size from 18x24cm to 84cmx119cm that you can populate with your images. The end result is a type of photo mosaic.
There are some customisable options such as colour of poster surround and flexibility around the number of photos that you can include within the poster. But it’s your images or photos that make the poster striking. You select photos either by uploading from a folder from your laptop or device or alternatively by directly uploading images from social media accounts Facebook and Instagram. Then you drag and drop them into your chosen template, moving them around until you have the result that you’re looking for.
Once designed, you pay PosterCandy to print the poster and mail to you within 3-5 days in Australia or up to 10 days for worldwide postage.
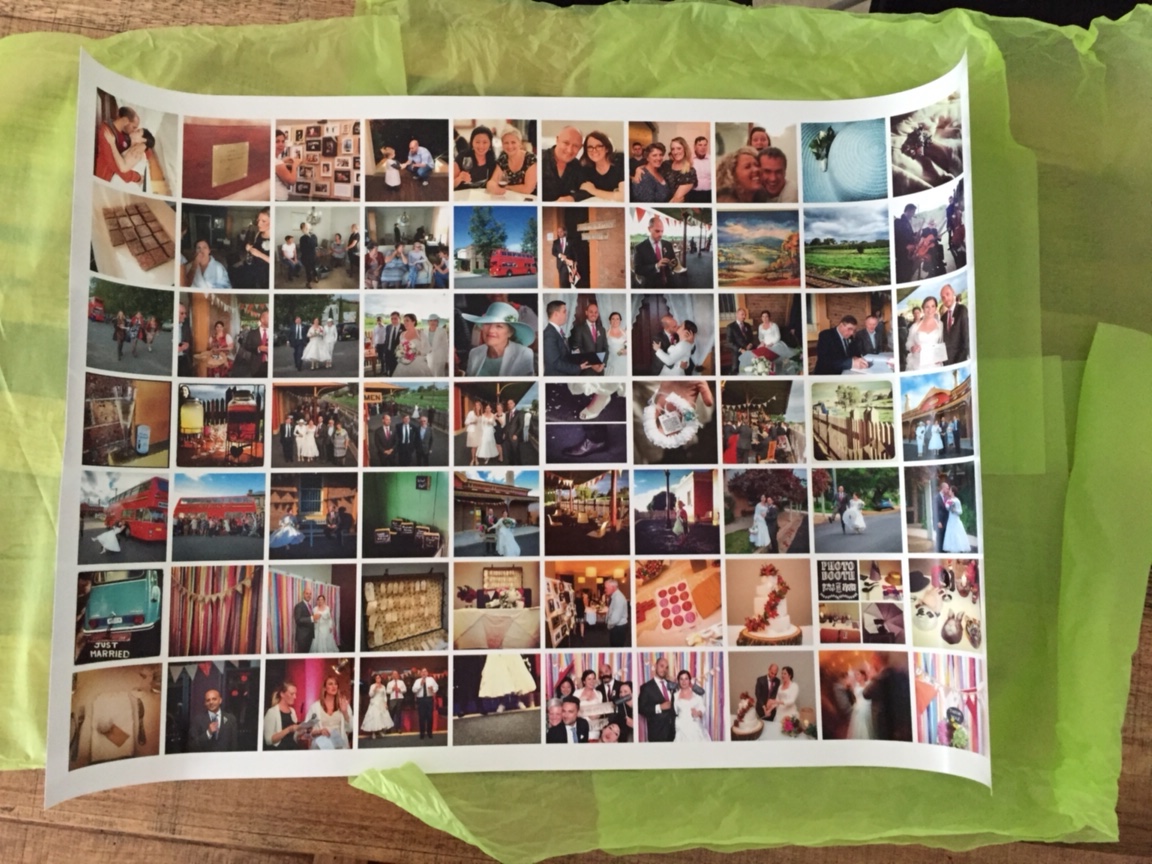
Having recently gotten hitched, I decided to design a poster that told a timeline story of our weekend away wedding. Choosing the 70cmx100cm size, I selected to include 70 photos although you can select up to 176 images in this size. In the largest poster size, you can include up to 368 images.
It’s a matter of personal choice but I opted for the smaller number of photos to save on time and complexity for a first attempt, 70 photos still being a sizeable number. More importantly though, the more photos that you include, the more difficult they are to see individually given that they would be a lot smaller. Ultimately, it depends on what you’re trying to achieve and for each poster size, there are a generous 3-5 options.
Here’s the final result that I’m very happy with. I also enjoyed the lollies that were included in the package. Cute.
 Overall, if you’re looking for a reasonably priced service with a quick turn around — from AU$15.00 to AU$99 for the largest size poster plus approximately $13 for postage — I’d recommend this. The poster tells the story of our wedding weekend very well, looks glossy and great and doesn’t need a large amount of technical expertise to get started or complete.
Couple of things to bear in mind when using PosterCandy…
Design Tips
If you’ve started designing a poster and saved it to return to later, it’s not immediately clear how to re-discover your saved template. You can do this by going to ‘Create Now’ on the homepage as if you are starting the poster creation process from scratch. In the toolbar at the bottom right of the page, there’s an option called ‘Load’. This leads to your previously saved poster versions.
Be very careful before hitting the clear button! In the early stages, I hit it thinking that I would be clearing a single photo tile within the poster. It actually deletes all photos for you to start again without a query to confirm that you are sure. In this situation, you can retrieve lost work by hitting the back button (arrow) in the tool bar to undo this deletion. There’s also a redo button if you want to compare and contrast.
Make any alterations to your images before uploading to PosterCandy. The software doesn’t offer the ability to edit photos aside from cropping which makes the post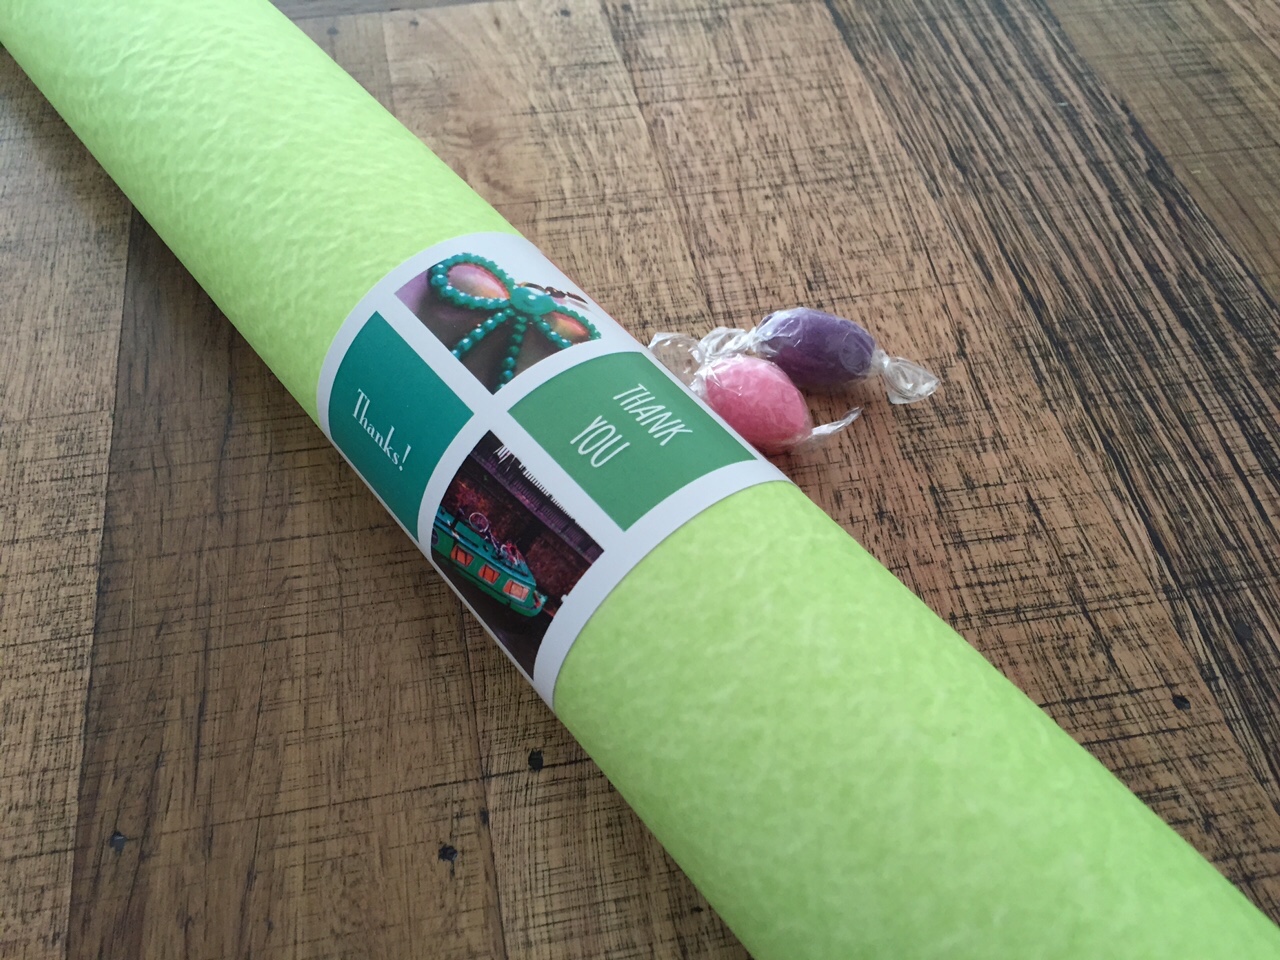 er creation process quite straightforward. It assumes that you are working with final photo versions.
There are a couple of fun additional features. Select ‘Jumble’ if you want the software to jumble the images that you’ve placed in a template. You can do this several times until you get the effect you’re looking for. It wasn’t initially obvious what the ‘Randomise’ feature did but on playing with the program, I noticed that this option auto-populated a selection of photos from my Instagram and Facebook accounts. Hopefully, PosterCandy includes a little more explanation around this feature, including how to select a specific photo range, in future versions.
Away For A Bit had fun with the making of this poster courtesy of PosterCandy.

Great site
Hi Emily,
Dane from PosterCandy here. We’re thrilled to hear that you’re enjoying your PosterCandy photo poster (and the lollies!).
We’re always grateful to hear feedback on the design process as we’re constantly working to make the product even better. We’ve had tooltips for the ‘Randomize’ and ‘Jumble’ functions on the cards for a while now so watch this space!
All the best,
Dane.
p.s. If you’re looking for a frame, our photo posters fit perfectly in a range of frames including the Ikea RIBBA series